Make the Outriggers first. Put the Elbows on the 5” lengths, then the connectors in the elbows, then the caps on the end. A mallet or hammer comes in handy. With the glue wet, be quick to get the parts fully inserted before the glue sets up, and believe me, it sets fast!
Now fill these with sand, tapping them as you fill them to get as much in as possible. Leave about ½” at the top with no sand. I used Hot Glue on these last ones to plug the ends. Hot Glue is so much easier than epoxy, and sets up fast. This keeps the sand in place. You could fill the whole assembly with sand, but that would be overkill. You especially don’t want the uprights filled, as you want the weight low.
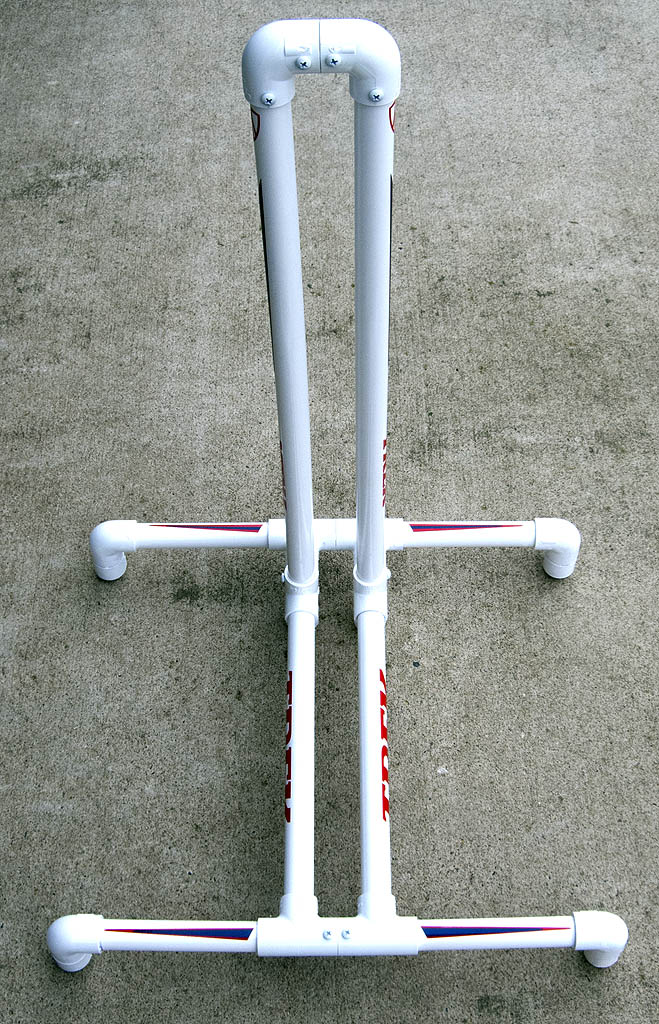
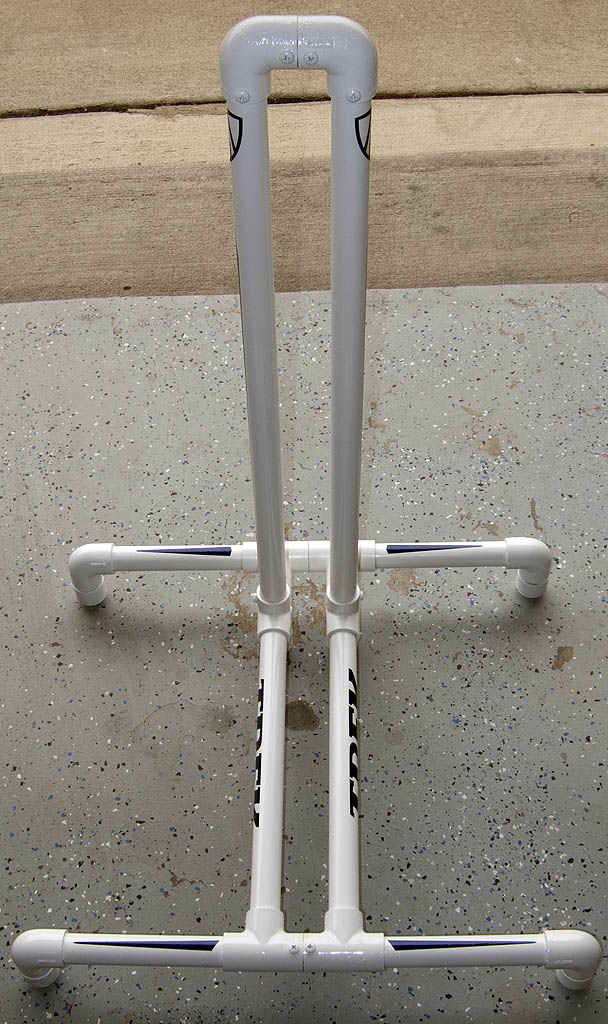
Next I put the Outriggers in the T’s, and the T’s together. Then you can make sure they are straight by laying them on the floor and make sure the feet line up. At this point the front and back is the same.
Assemble the Upright Support by putting end caps on one fitting on the 4-way coupler. Now mate this with couplers to the front Outriggers. You will notice it is free standing now.
Now glue the 13” Centers to the 4-way coupler. Now glue the rear outriggers to the two centers.
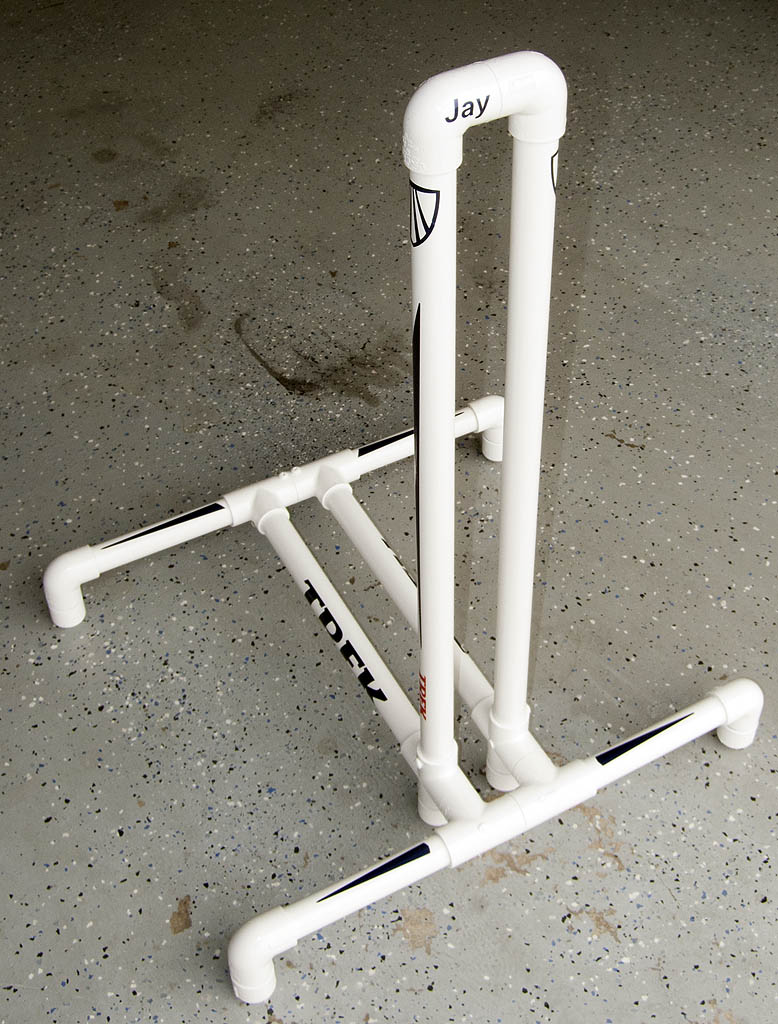
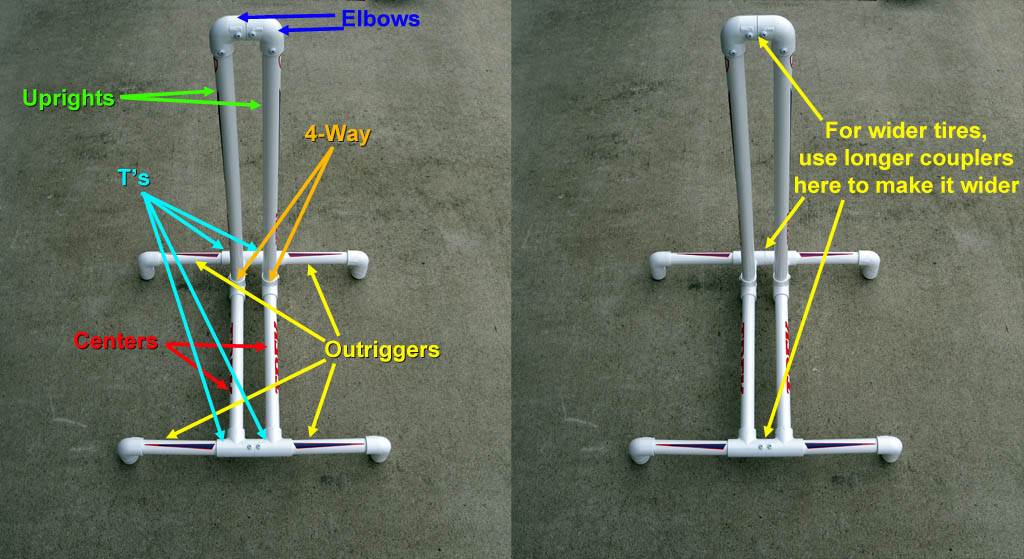
Finally, using two elbows and the 24” pieces, create the upright by itself. I found it much easier to put the Elbows on the two Uprights, and then glue the two Elbows together with a 1-3/4” coupler. Do this last, because once you put it together, you can lay it on the floor, and make sure they are aligned before the glue sets up.
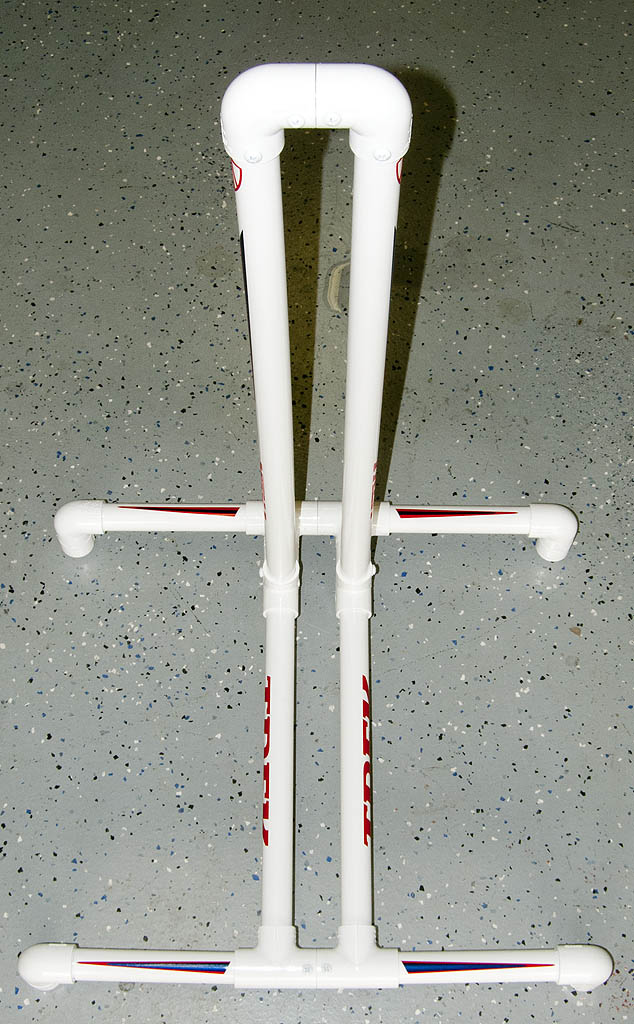
Now you have to make a decision. Do you want to remove the uprights for transport or storage? If yes, sand the holes on the 4-way coupler, and the ends of the uprights. You need to make the fit a little looser. I also put some Lithium grease in the holes. When you want to remove the upright, just grab the top, where the two elbows meet, and twist a few times while pulling up.
This is optional: I put one ½” sheet metal screw in each connection. Over time, flexing the stand will break the glue joints. I guess plumbing fixtures don’t get stressed this much. It won’t fall to pieces if you don’t do this, but it will get loose over time. You can always re-glue it, but I just used the screws and it will never come apart. I drilled small pilot holes first, made it much easier.
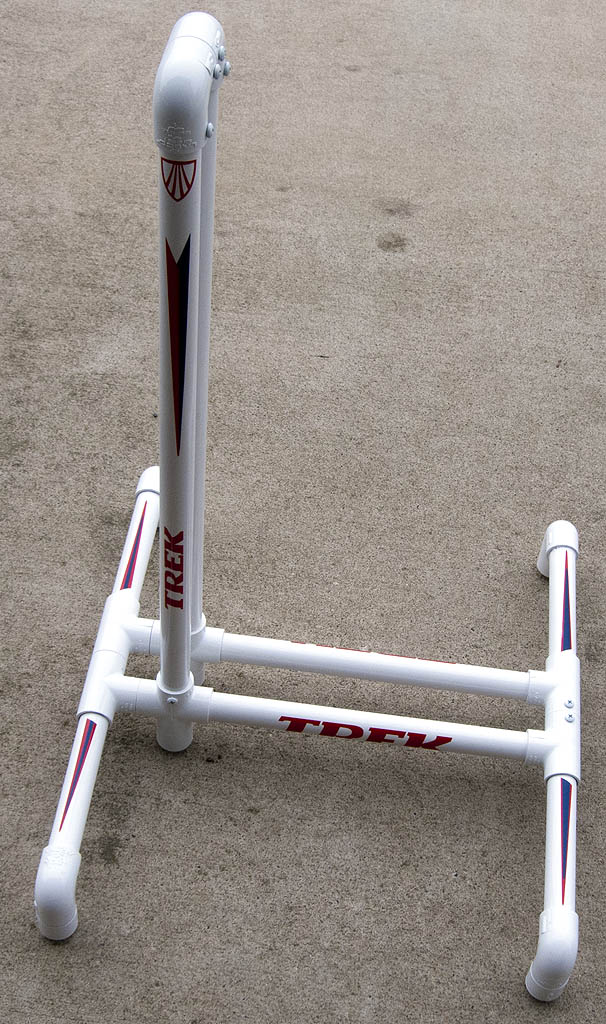
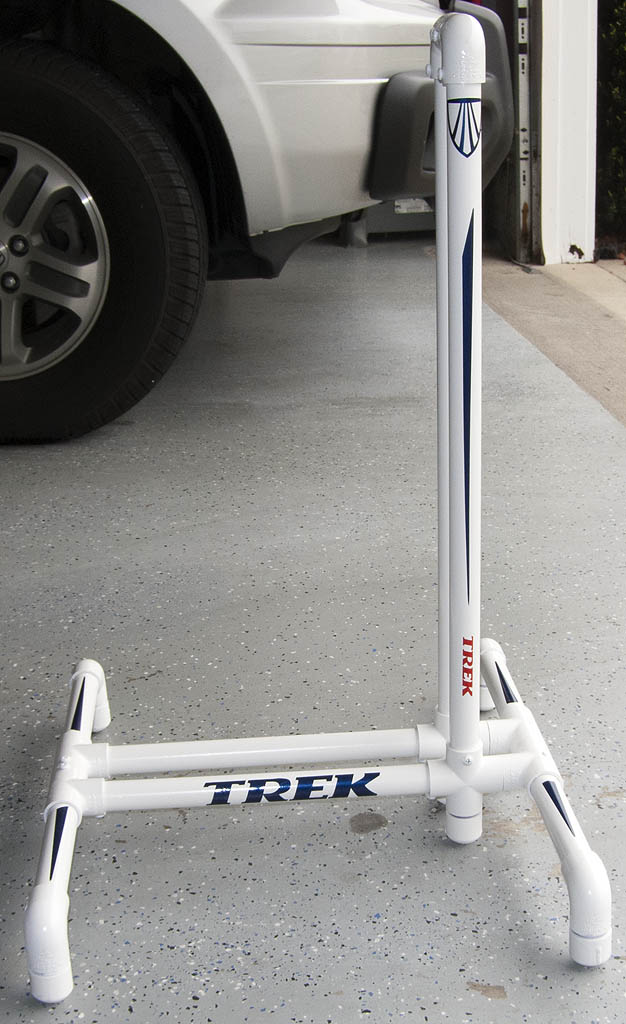
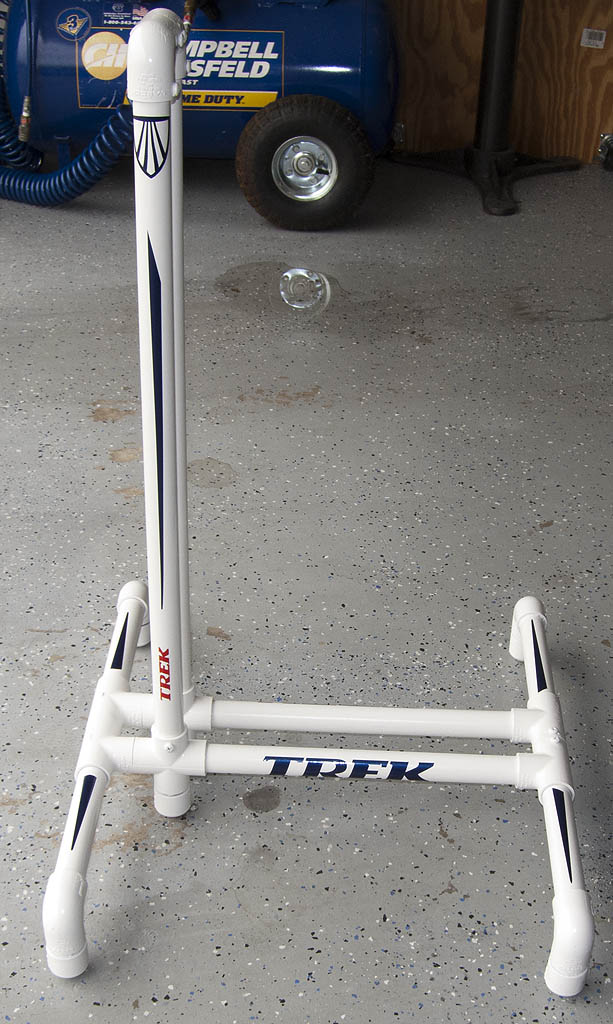
Now just paint it, decal it, or leave it alone! Go ride! If you do paint it, clean the PVC lettering off with Enamel Reducer (not much, it eats PVC), sand and paint. The lettering tends to bleed through white paint. Darker paint does not matter. I like it painted white, so if it gets banged around, under the white paint is white PVC, it won’t show. If you want some decals, contact me. I can’t do it for free, but cheaper than a printing shop I’m sure.
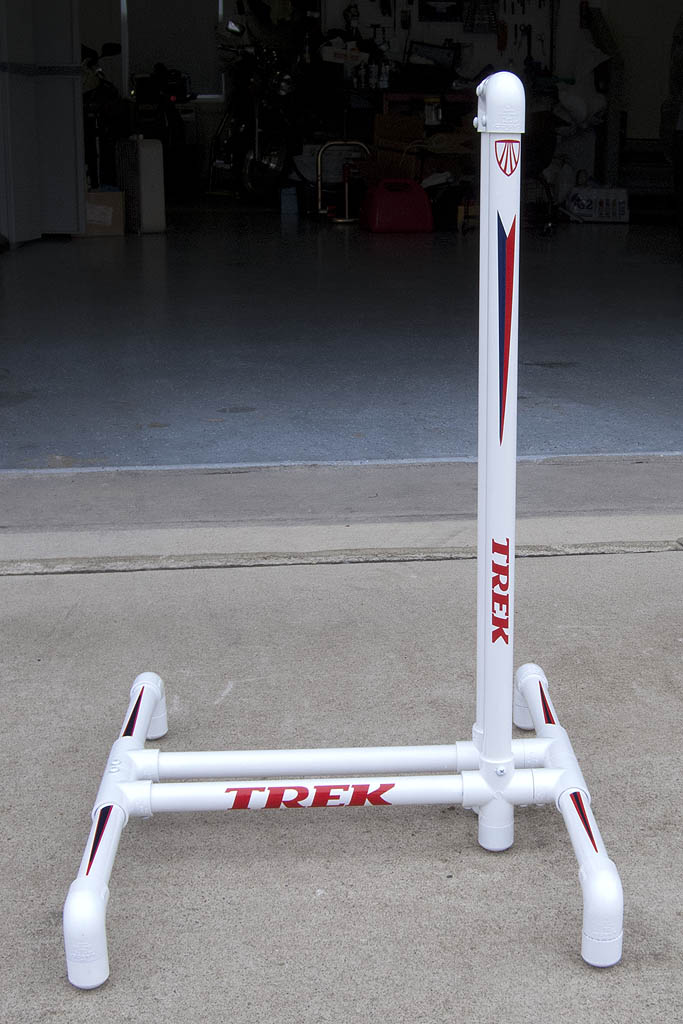
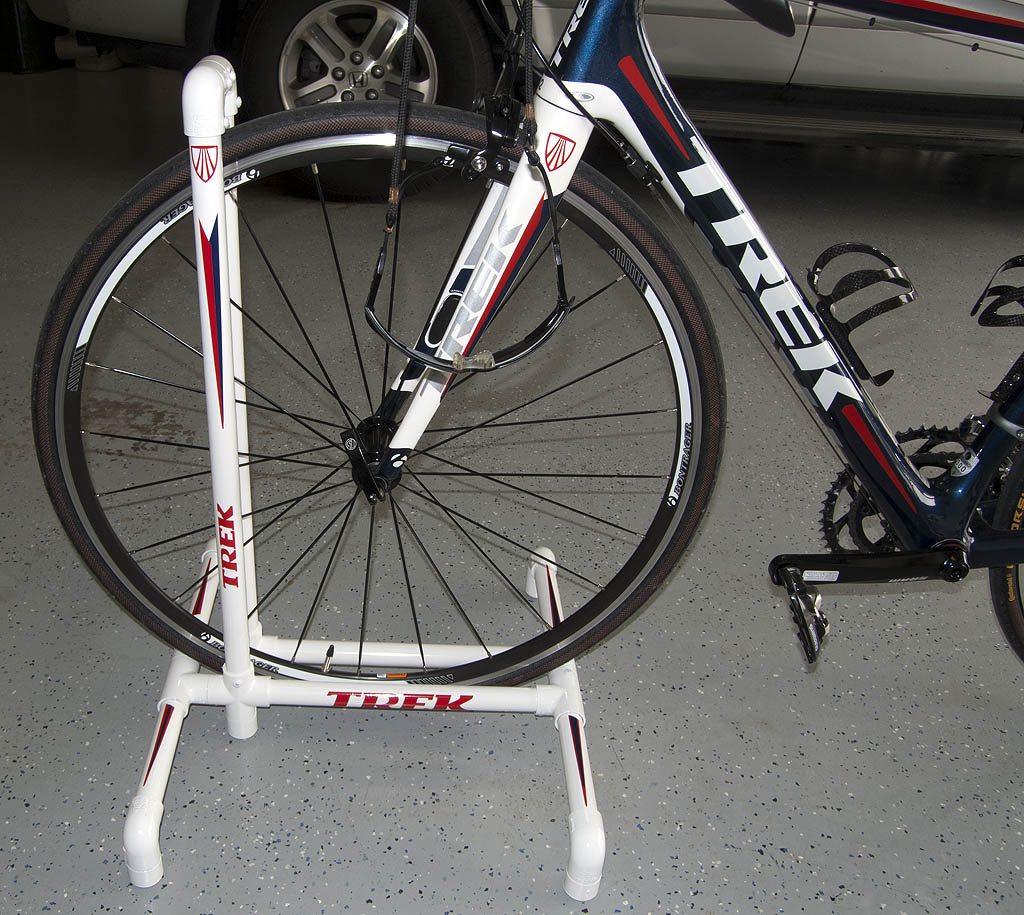
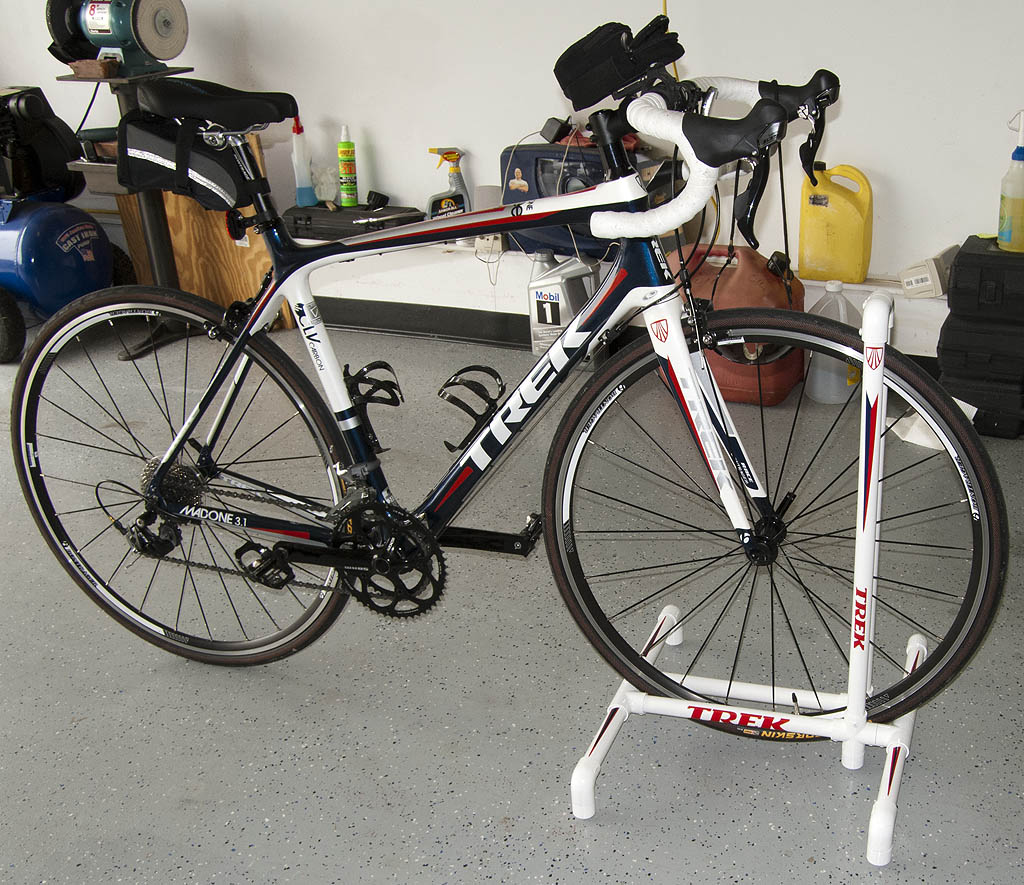
Use at your own risk! (had to say that). If the bike is in the stand somewhat straight, it will never fall over. But swing the back of the bike off to the side a foot or more, and it can become unstable. Put the back wheel in, and you don't have this problem.
Sure makes it easier airing up the tires too.
Questions? Ask away. I can't claim coming up with this, but I feel I have perfected it to my liking over the years. I have a lot of happy friends with them too.