Review:
If you've ever wrestled a motorcycle tire off the rim with tire
irons you know what a job it is. If you take it to a dealer they either
screw you on the tires or if you buy them somewhere else they rape you with the
labor. Our riding group goes through a lot of tire changes and we have
done them all by hand. Well time to improve the process.
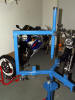
Welcome to the
Wikco MC110 manual
changer. I originally ordered a
COATS 220 but
delivery time kept getting pushed further and further into the future. I'm
glad I found the MC110 as the price was about half that of the COATS.
Some of the edges were too sharp for my taste. I rounded
the rim clamps and covered with an old inner tube. I also covered the bead
breaker and rim stop under the breaker with rubber. I have a 4x4 piece of
3/4" plywood that I mount the rig to. Makes a sturdy platform and can then
be stored in a small space.
It even came with a swab and reservoir with tire lube! I
can't stress enough that you need to keep the rubber lubed when removing and
when seating the bead.
The secret to easy removal and installation of a tire with this
rig or even with tire irons is the keep the bead in the center of the rim.
By doing this you have the tire off to one side giving you more slack in the
rubber for getting it over the rim.
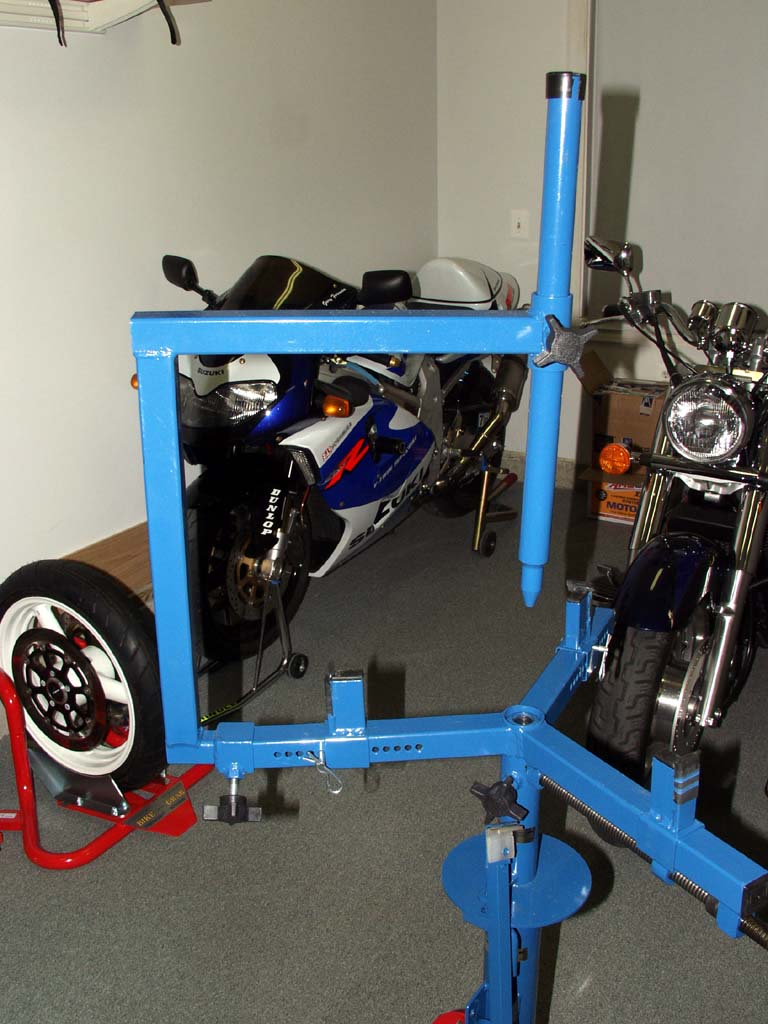
I also ordered the single sided wheel attachment. I really
see no reason you couldn't use this on any wheel instead of the rod you stick in
the center.
The MC110 has a 5 year warranty. I can see it lasting many
years past that!
Overall I am very pleased with this. I changed my tires in
record time and it was the first time I have used this unit.
In a 1-10 rating I give this product an 8. I'm only
deducting a few points for the sharp edges that needed filing. Nylon
covered rim clamps wound be a nice touch.
Click thumbnails for larger photo
|
|
|
|
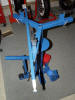
MC110 Tire Changer
|
|
|
|
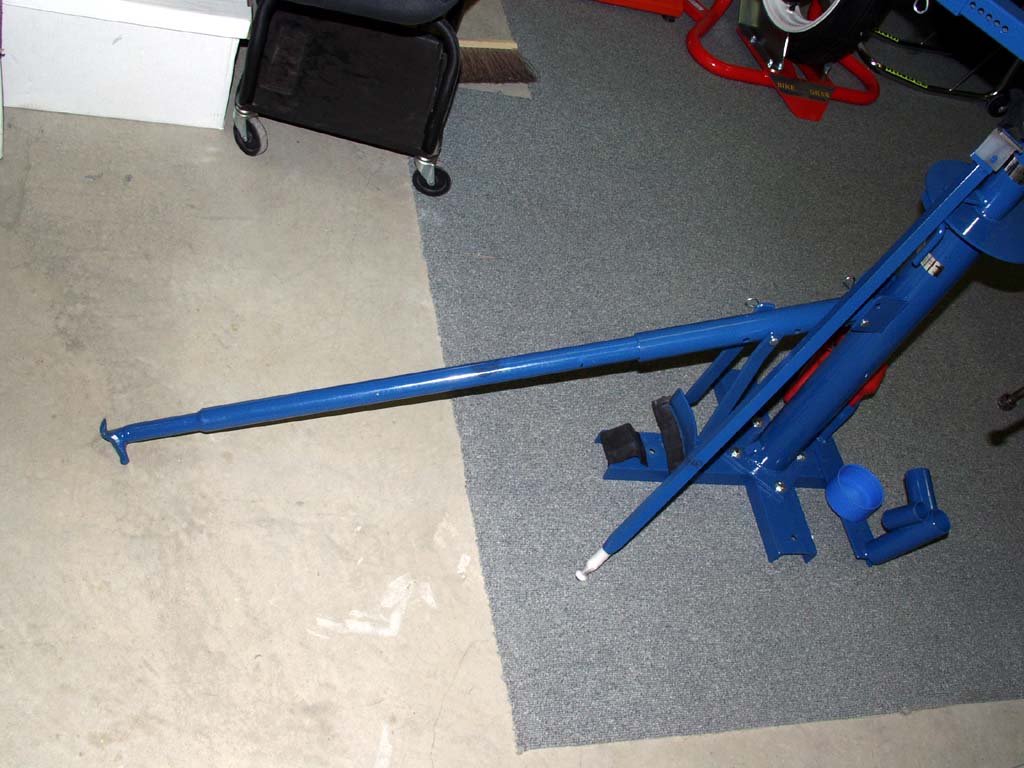
The bar on top is the mount/dismount took. The ends are nylon covered to prevent damage to the rim.
|
|
|
|
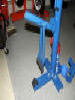
This is the bead breaker. I covered the contact points with pieces of an old inner tube.
|
|
|
|
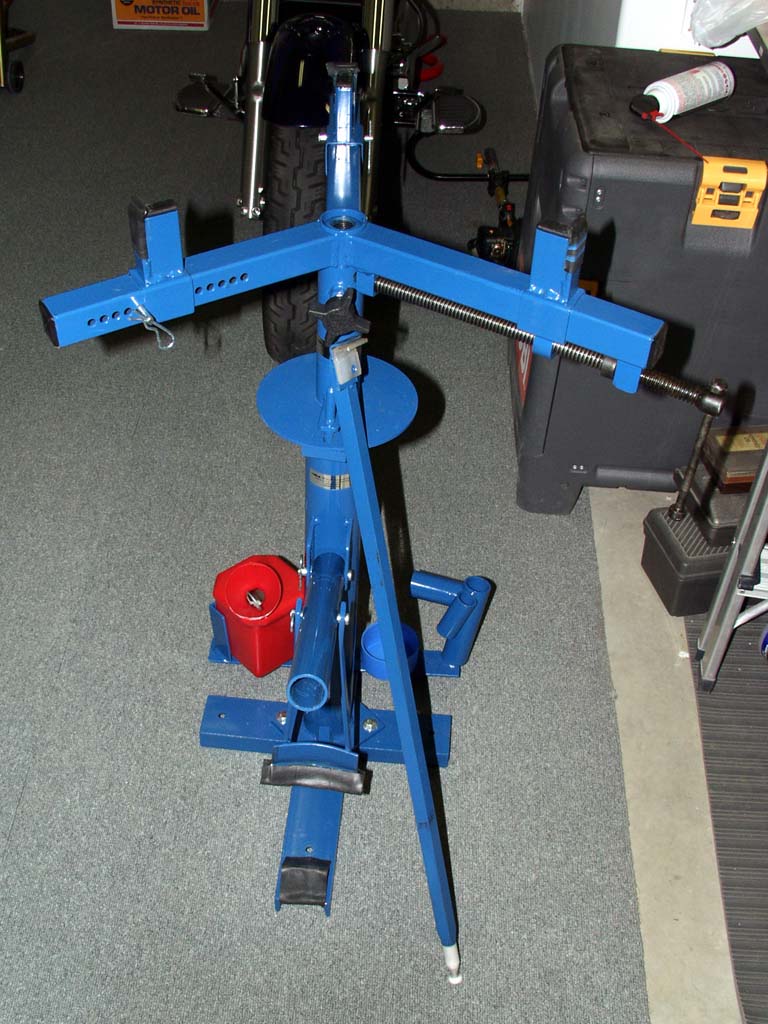
For leverage you can stick the steel wheel bar in the bead breaker (did I mention you you can change car tires?)
|
|
|
|
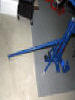
I covered the rim clamps with rubber also. Better safe than sorry.
|
|

|
|
No contact with the rotors. VERY IMPORTANT! Just stick the steel rod in the center of the wheel and pull the mount/dismout bar around the rim.
|
|
|
|
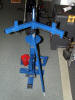
This attachment is for single sided wheels like I have on my Sabre shaft drive or a Ducati. This is not included wiht the base unit.
|
|
|
Back to CyclePix
Back
to TL1000.COM